Pit Droid Illuminated Eye - Installation Guide
Installation and setup instructions for the Pit Droid Illuminated Eye
Related Product
Pit Droid Illuminated EyePrerequisites
- ✓USB-C power cable
- ✓5v USB-C power supply (cell phone charger)
Video Guide
Instructions
Power In:
5V USB-A power. A cell phone charger or battery bank works great
On/Off Switch:
The cor has an on/off switch on it. Leave it in to “on” position
Remote:
The remote is used to control the color of the eye
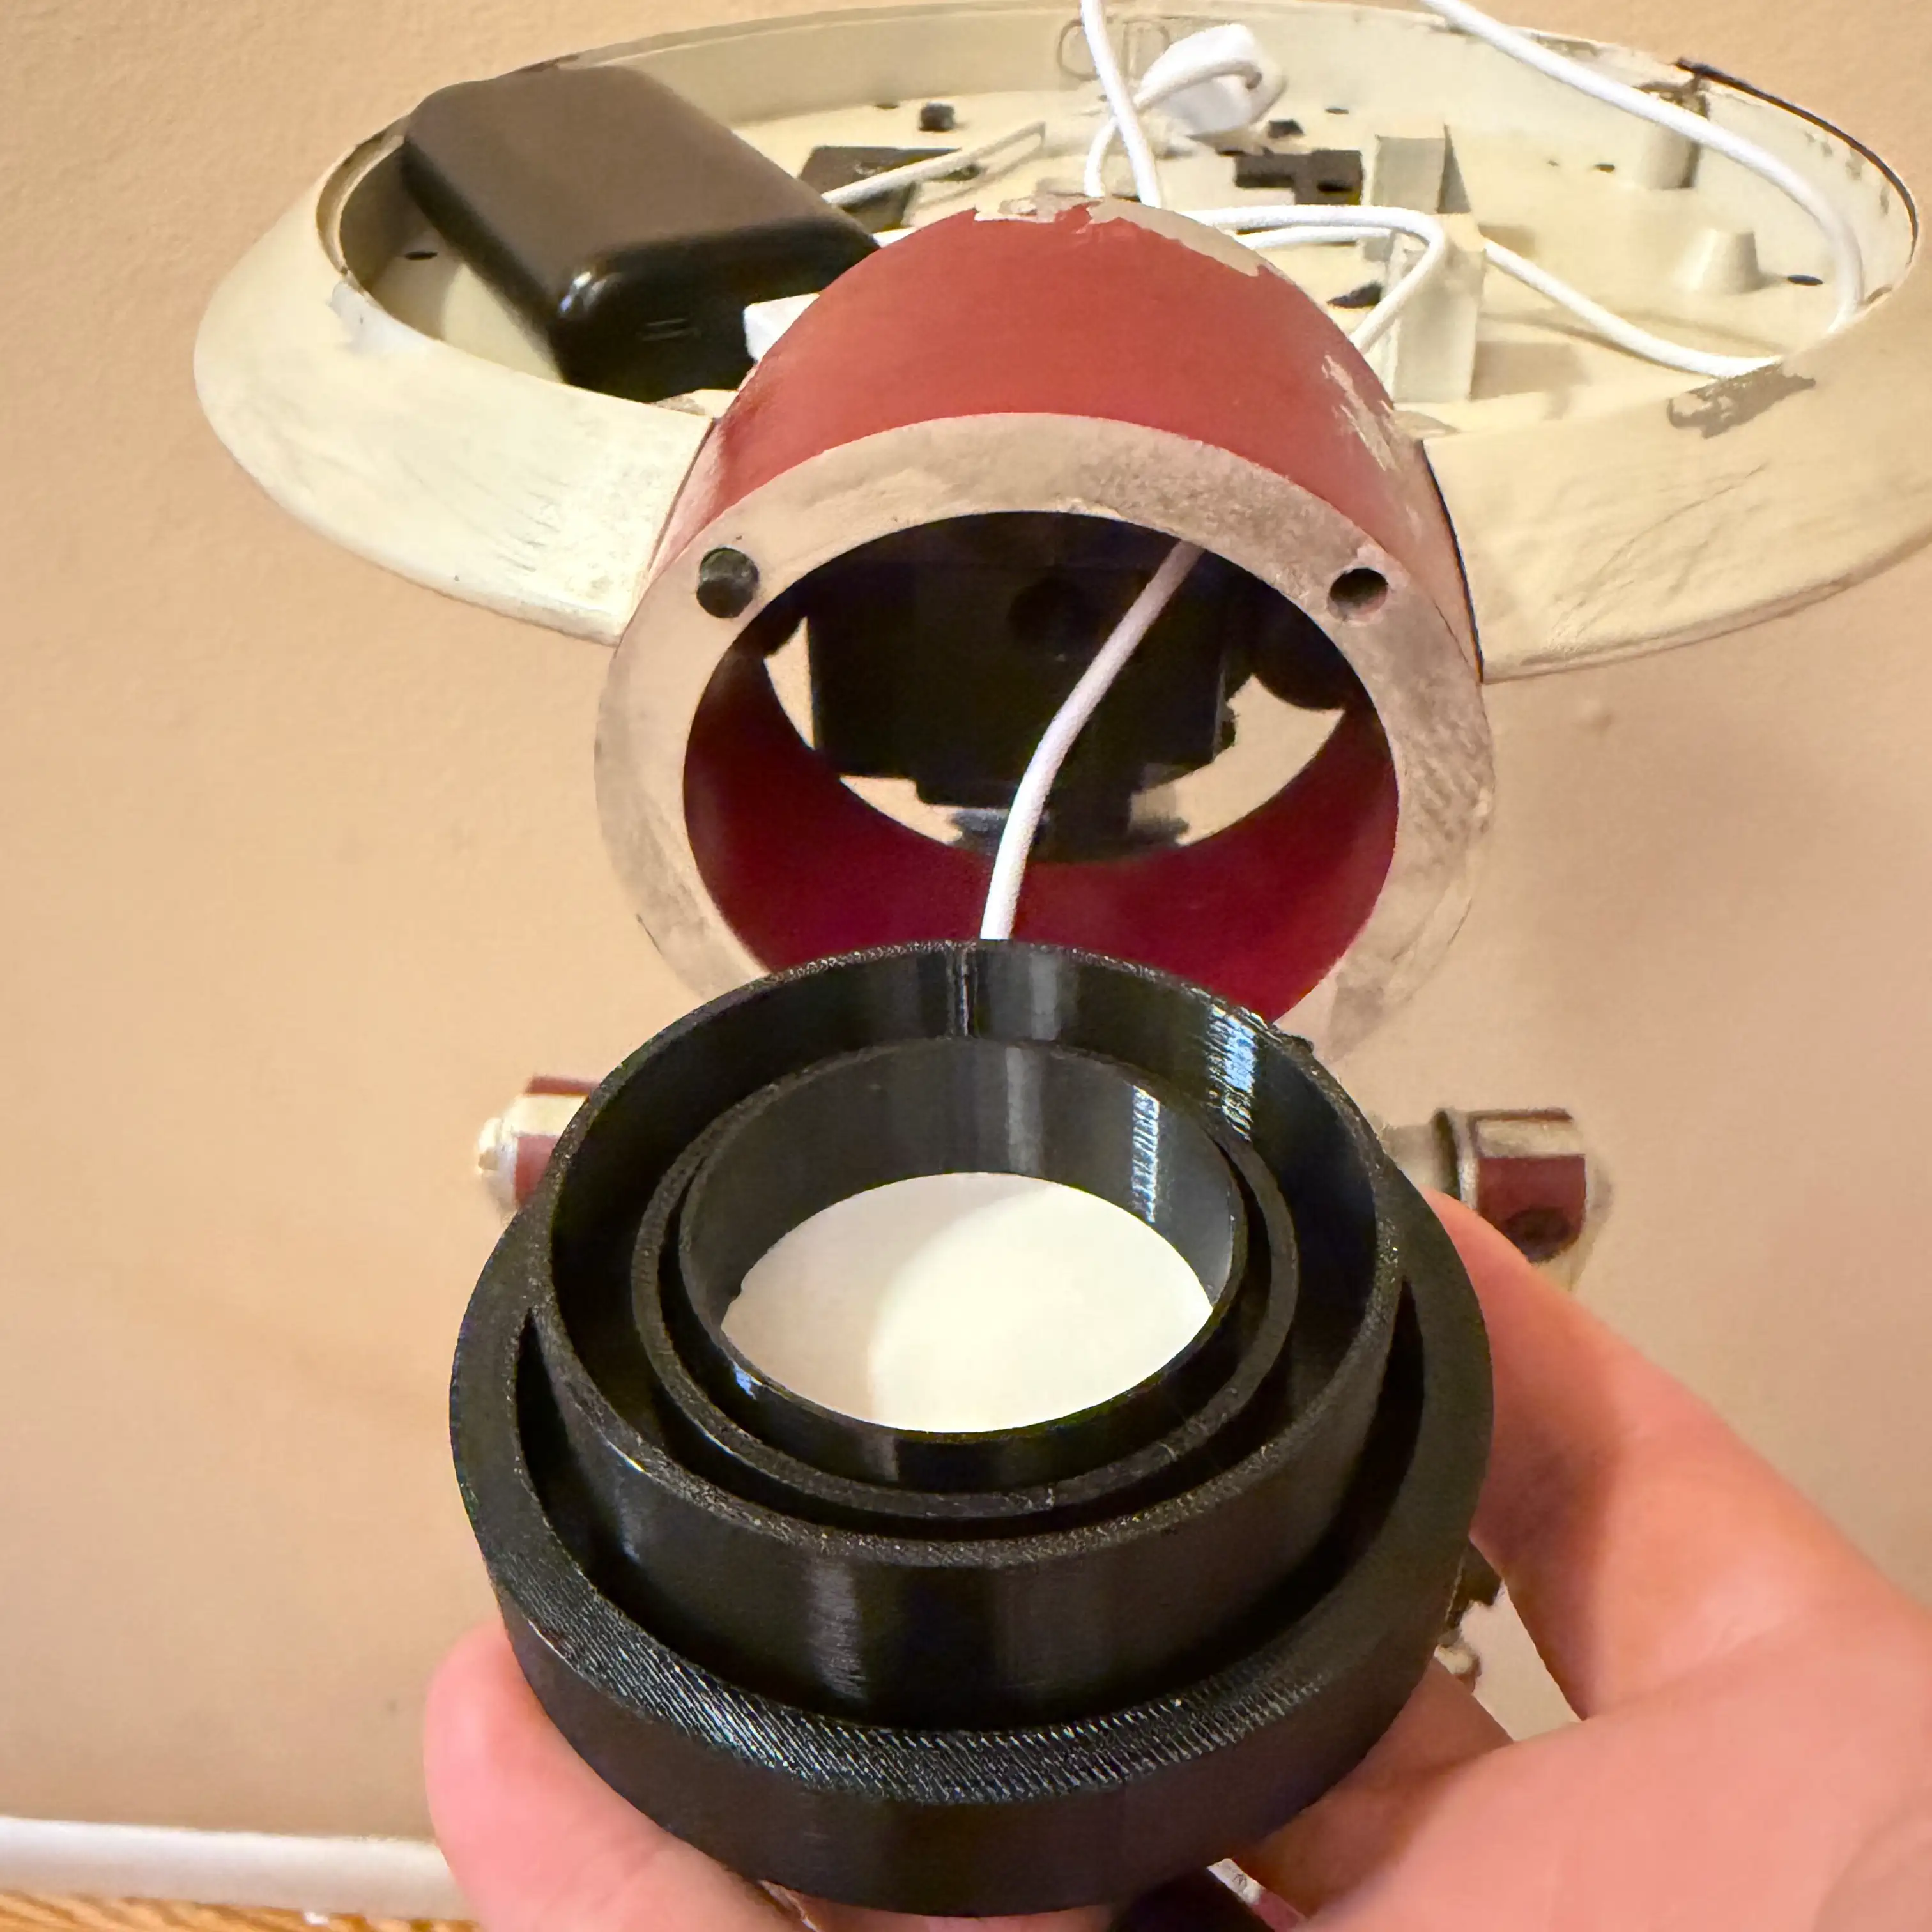
Step 1: Remove the front eye cover
Step 2: Remove the original inner eye parts
Step 3: Insert the J Highland replacement eye, cord first into the eye socket, running the power cord into the head cavity
Step 4: Add USB-A power. A battery bank for cell phones works great
Step 5: Test the remote - change the colors, turn the eye on and off
Step 6: Use the alcohol wipe to gently wipe the inside of the chrome lens to remove the shiny areas. Leave some left for a distressed look
Step 7: Insert the lens into the housing and replace the retaining ring. It should pressure fit into place
PDF Downloads
Related Product
This guide covers installation for the following product:
Pit Droid Illuminated Eye→