
Pit Droid build by Josh Highland
Pit DroidBuild Notes
Pit Droid Build
This Pit Droid uses the Droid Vocalizer Classic for authentic sounds. This was my first droid build and I had a great time with it. I suggest that everyone starts with a pit droid as their first build.
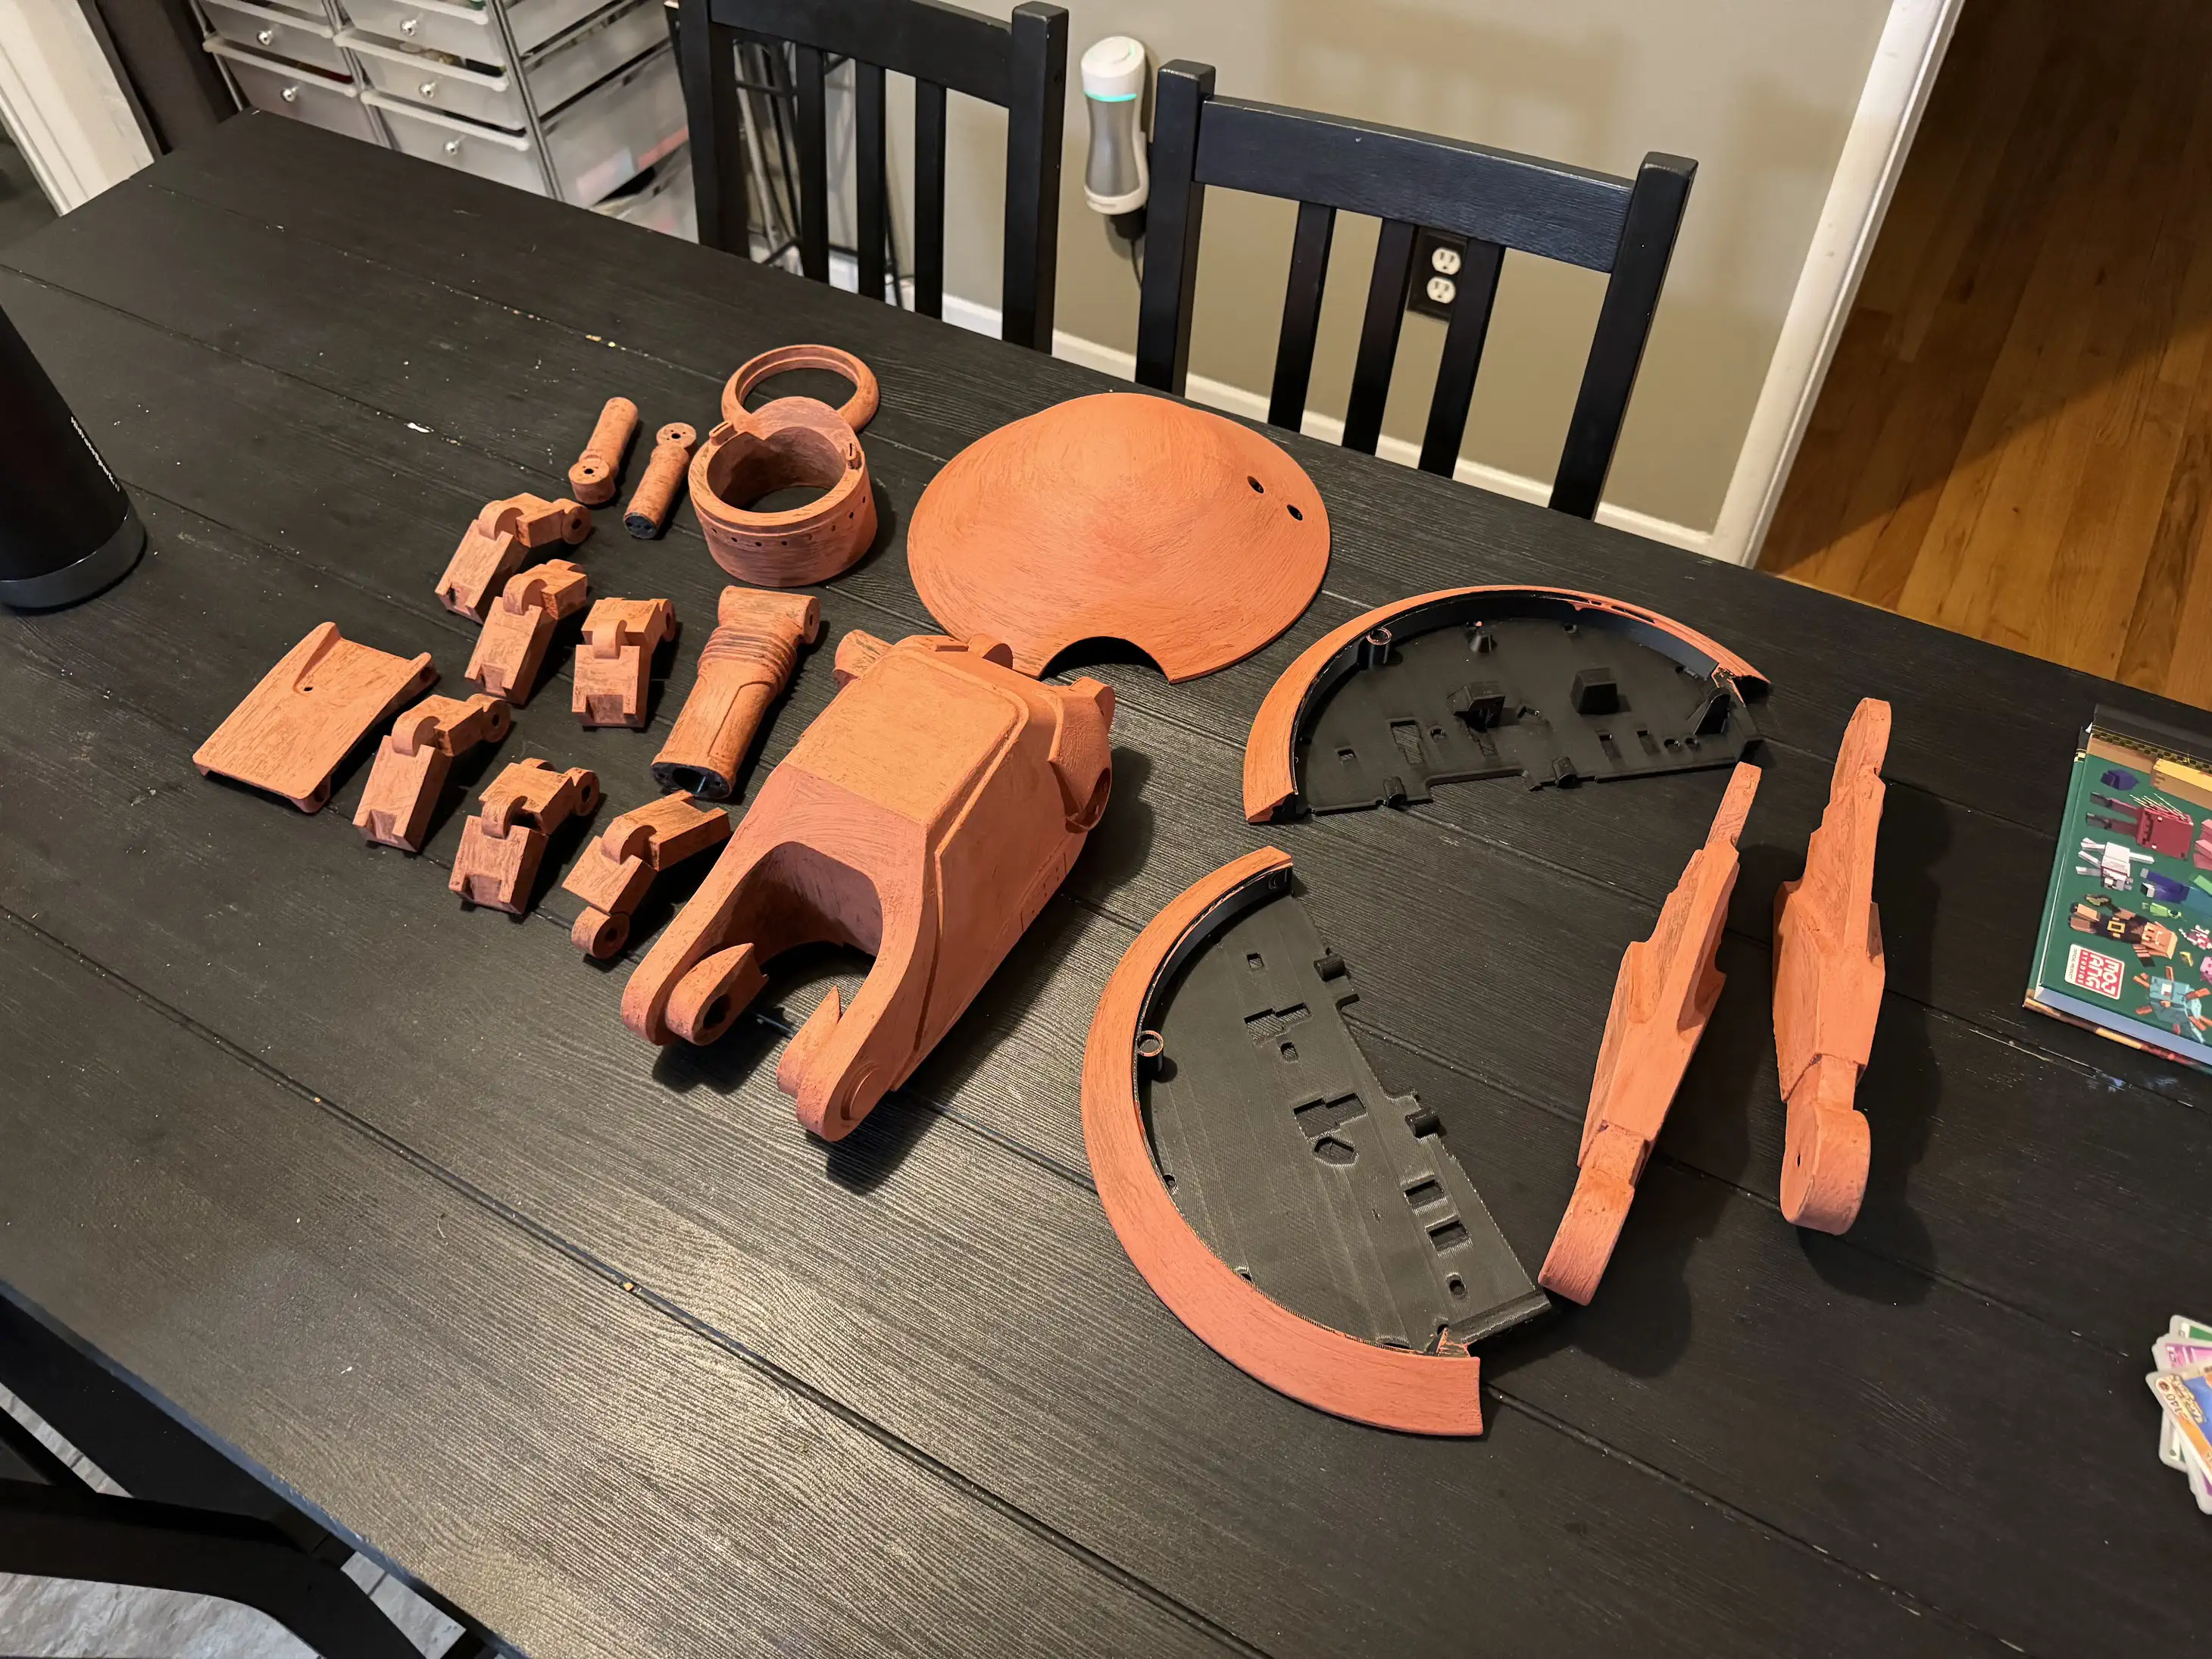
Printing and Finishing
The entire droid was printed in PETG. PETG provided better durability and heat resistance than PLA.
Surface finishing followed a multi-stage process:
- Acetone wipe-down to soften print lines and improve filler adhesion
- Bondo 907 glazing putty for seam filling and print defect correction
- UPOL filler primer for high-build surface preparation
- Progressive sanding through 220, 600, and 800 grit
The goal was not a perfectly smooth “automotive” finish, but rather a screen-inspired industrial appearance that retained subtle texture while eliminating visible print artifacts.
Paint Scheme
I took some liberty with the Pit Droid paint. There is no real official paint scheme. If you build one, have fun with it!
Main Body
Accent Red
Metallic Components
Applied to exposed mechanical surfaces, joints, and wear areas.
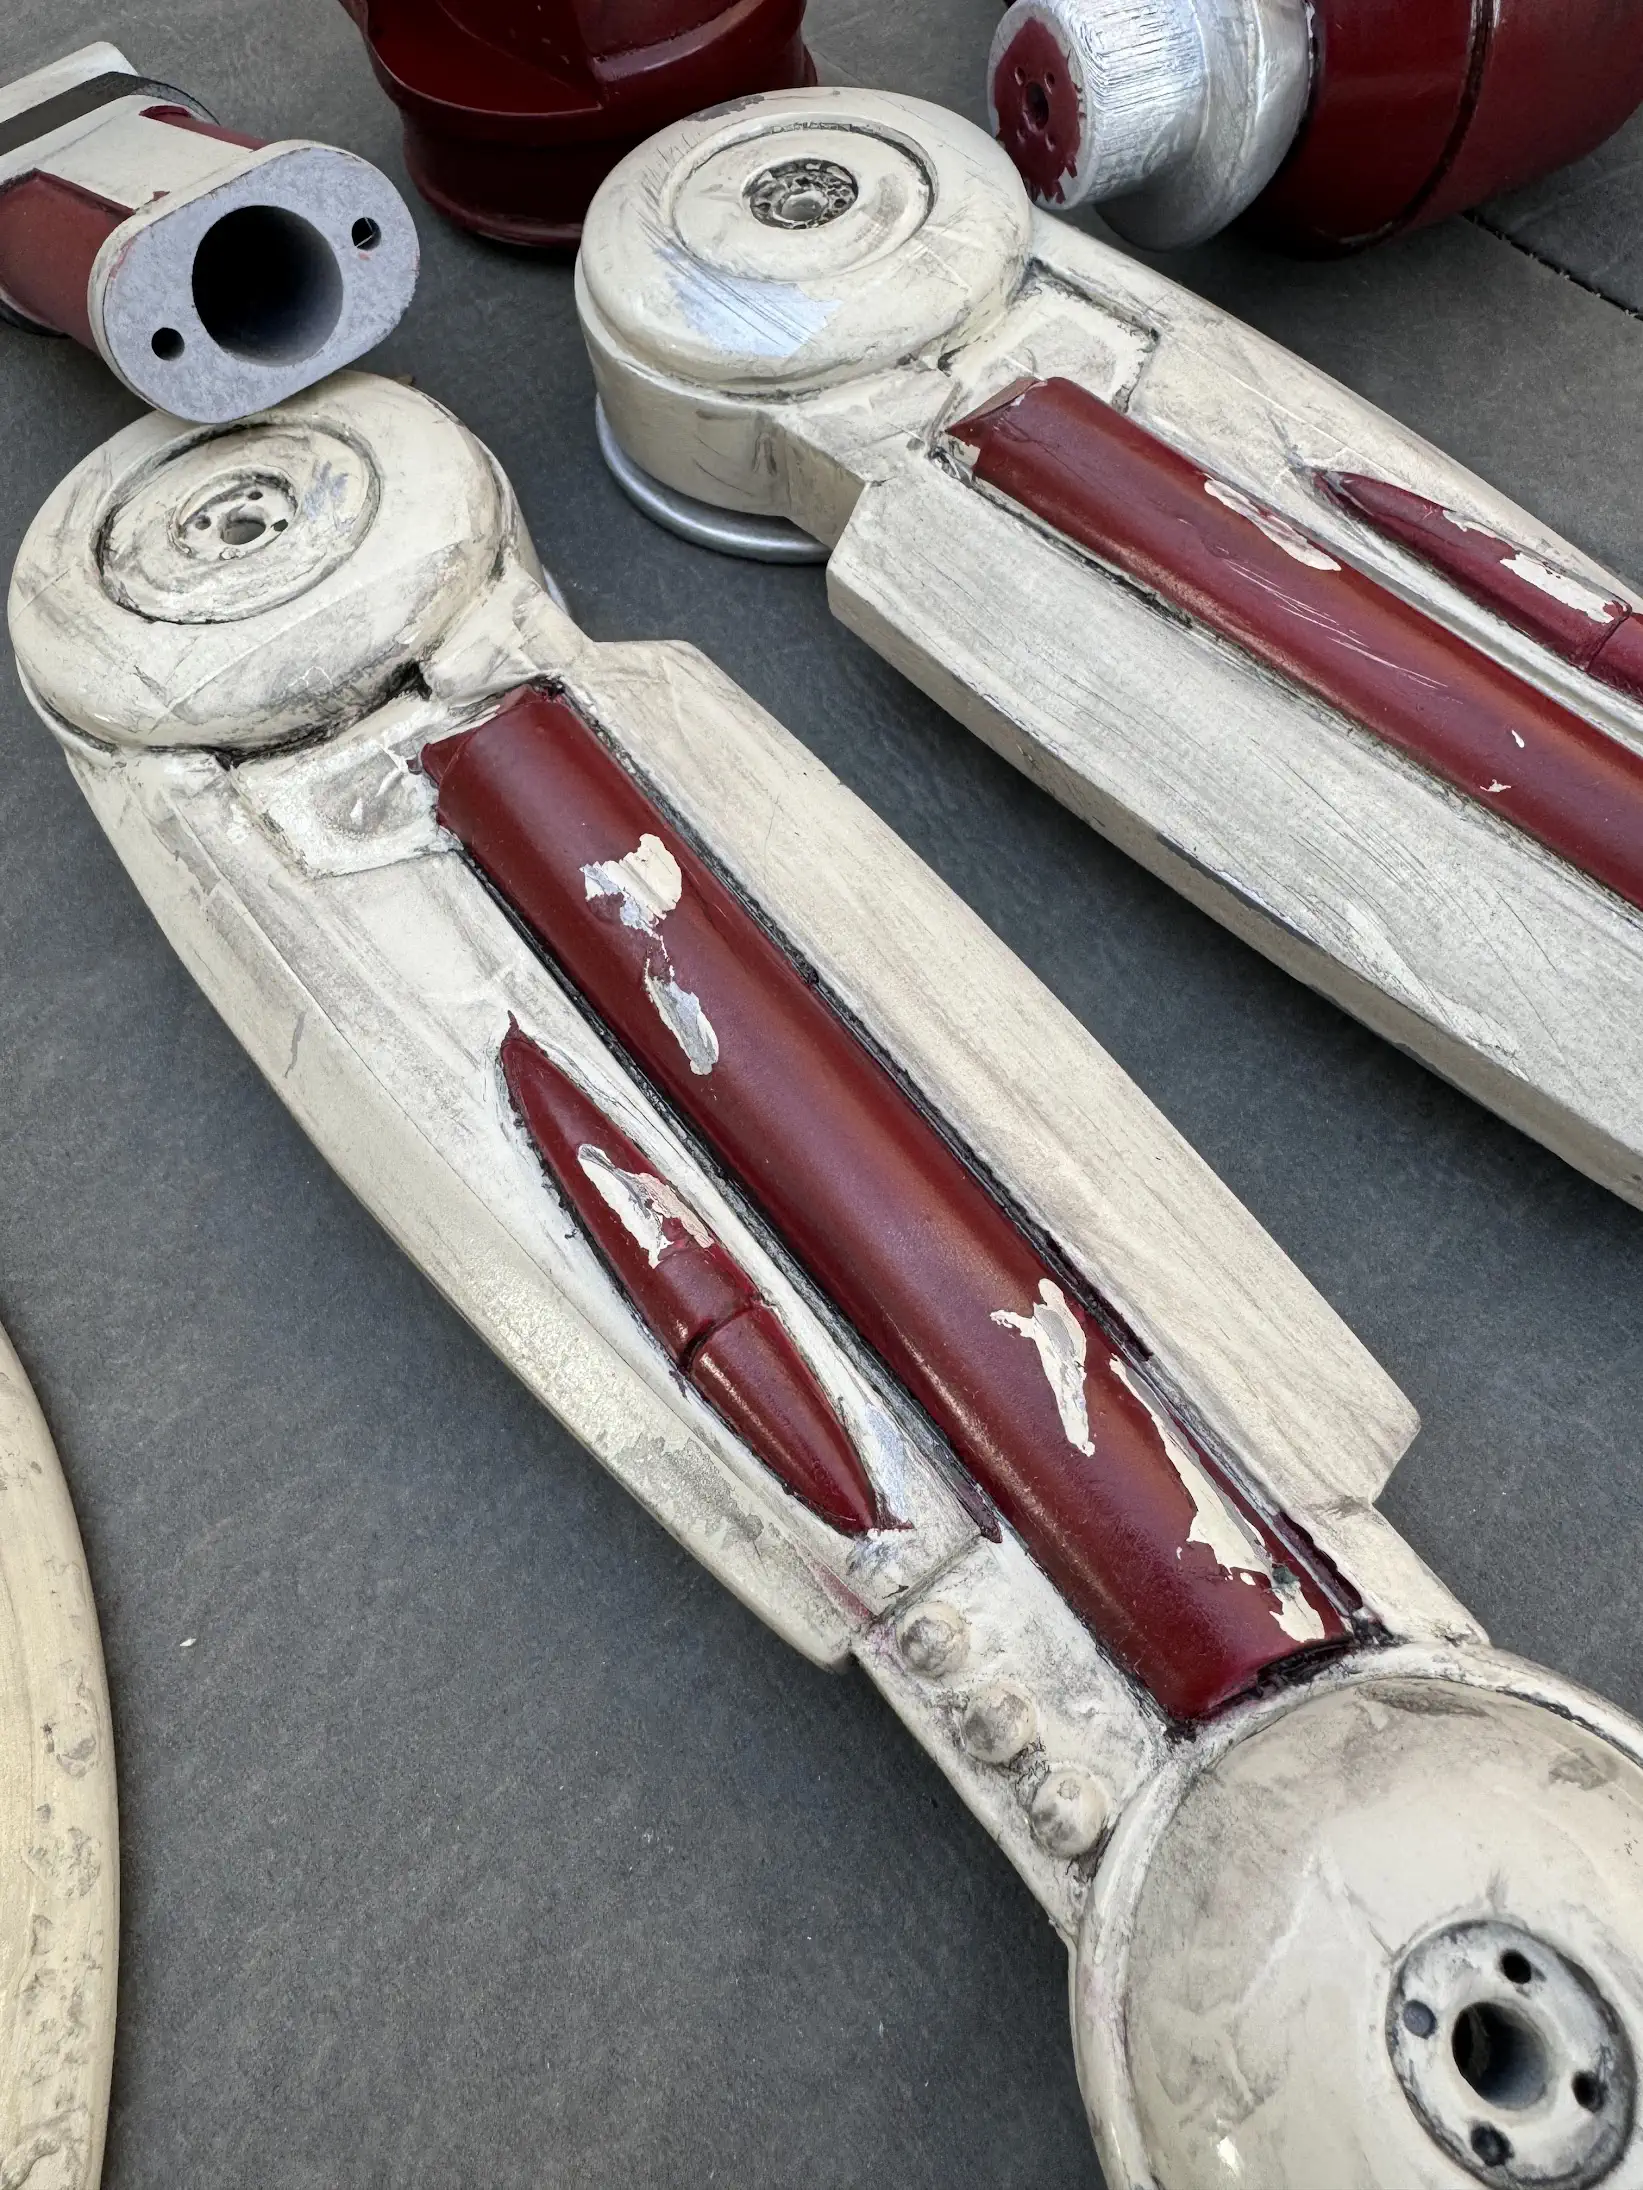
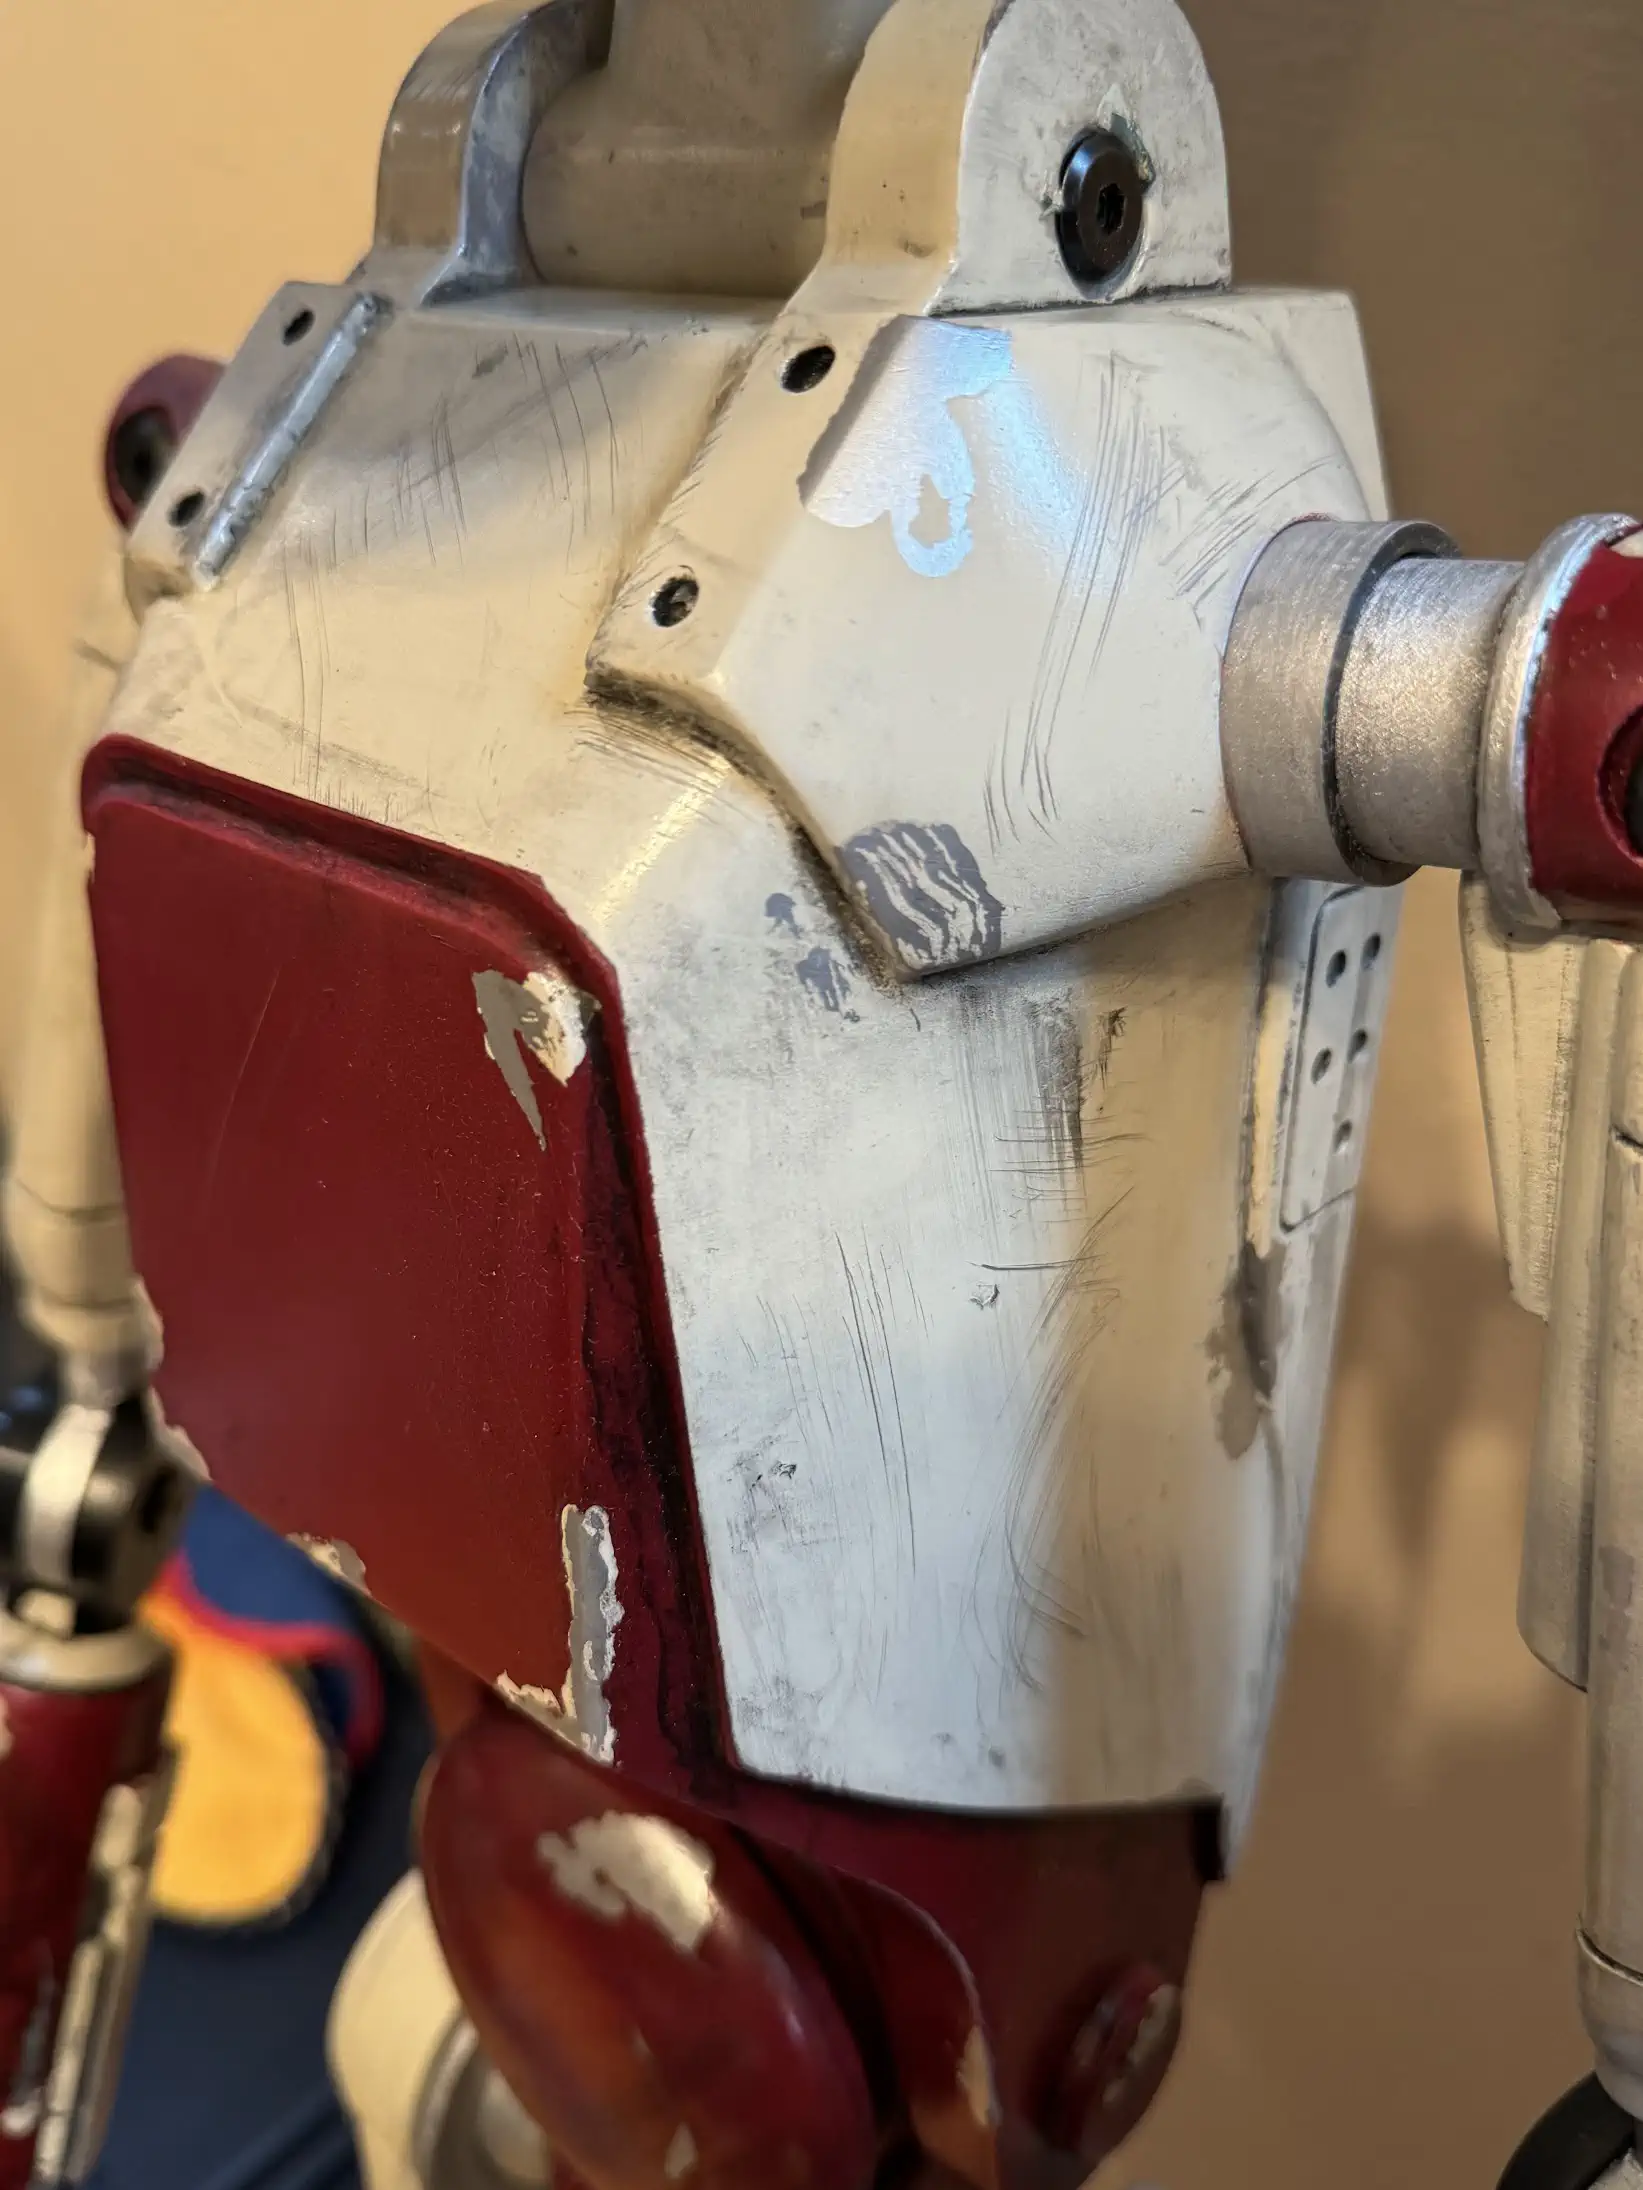
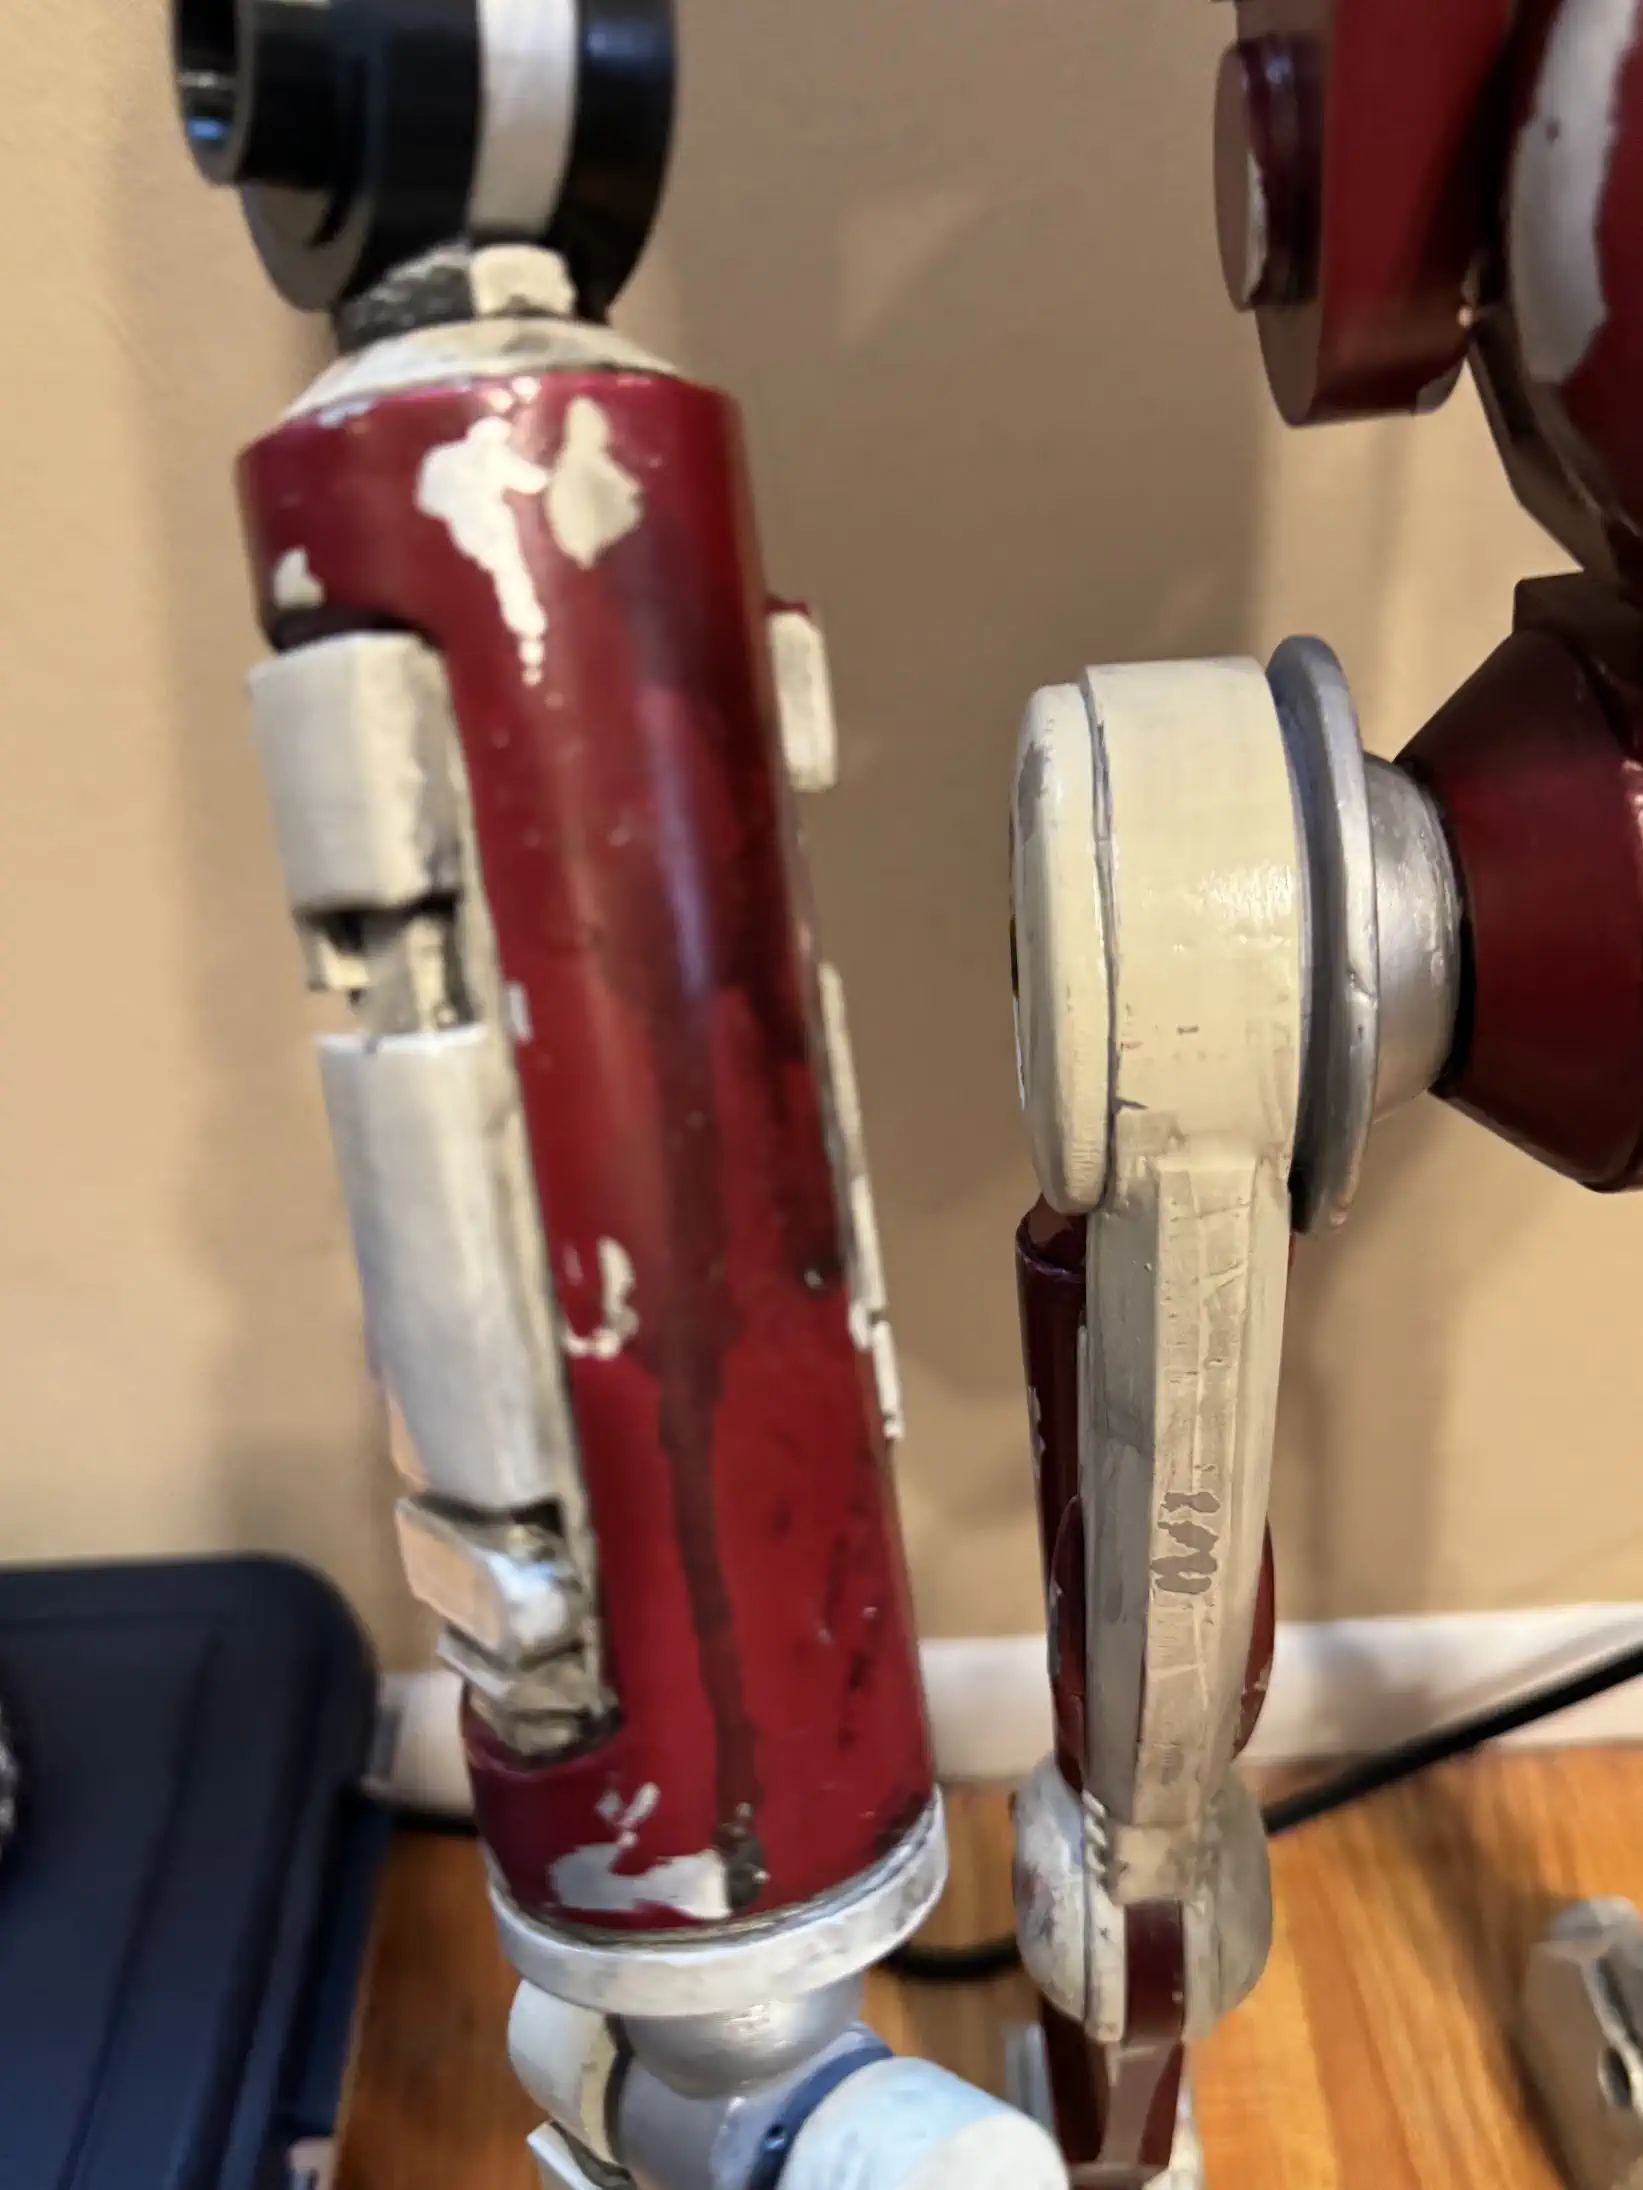
Weathering and Highlight Areas
I applied the liquid mast over the chrome paint in the areas I wanted to show up as scratches. I painted over the top, then rubbed the mask off. After that I applied a paint/water was over the pieces, focuing on areas dirt would collect. I let it sit for a few minutes then wiped it off.
Electronics
Vocalizer
Power System
Inside the head, I used a battery pack to power the vocalizer. There is a lot of room for the vocalizer module and running IR sensor into the eye cavity
Lessons Learned
This ws my first droid. I learned it takes a lot longer that you expect, but its worth the time investment. Enjoy the ride.
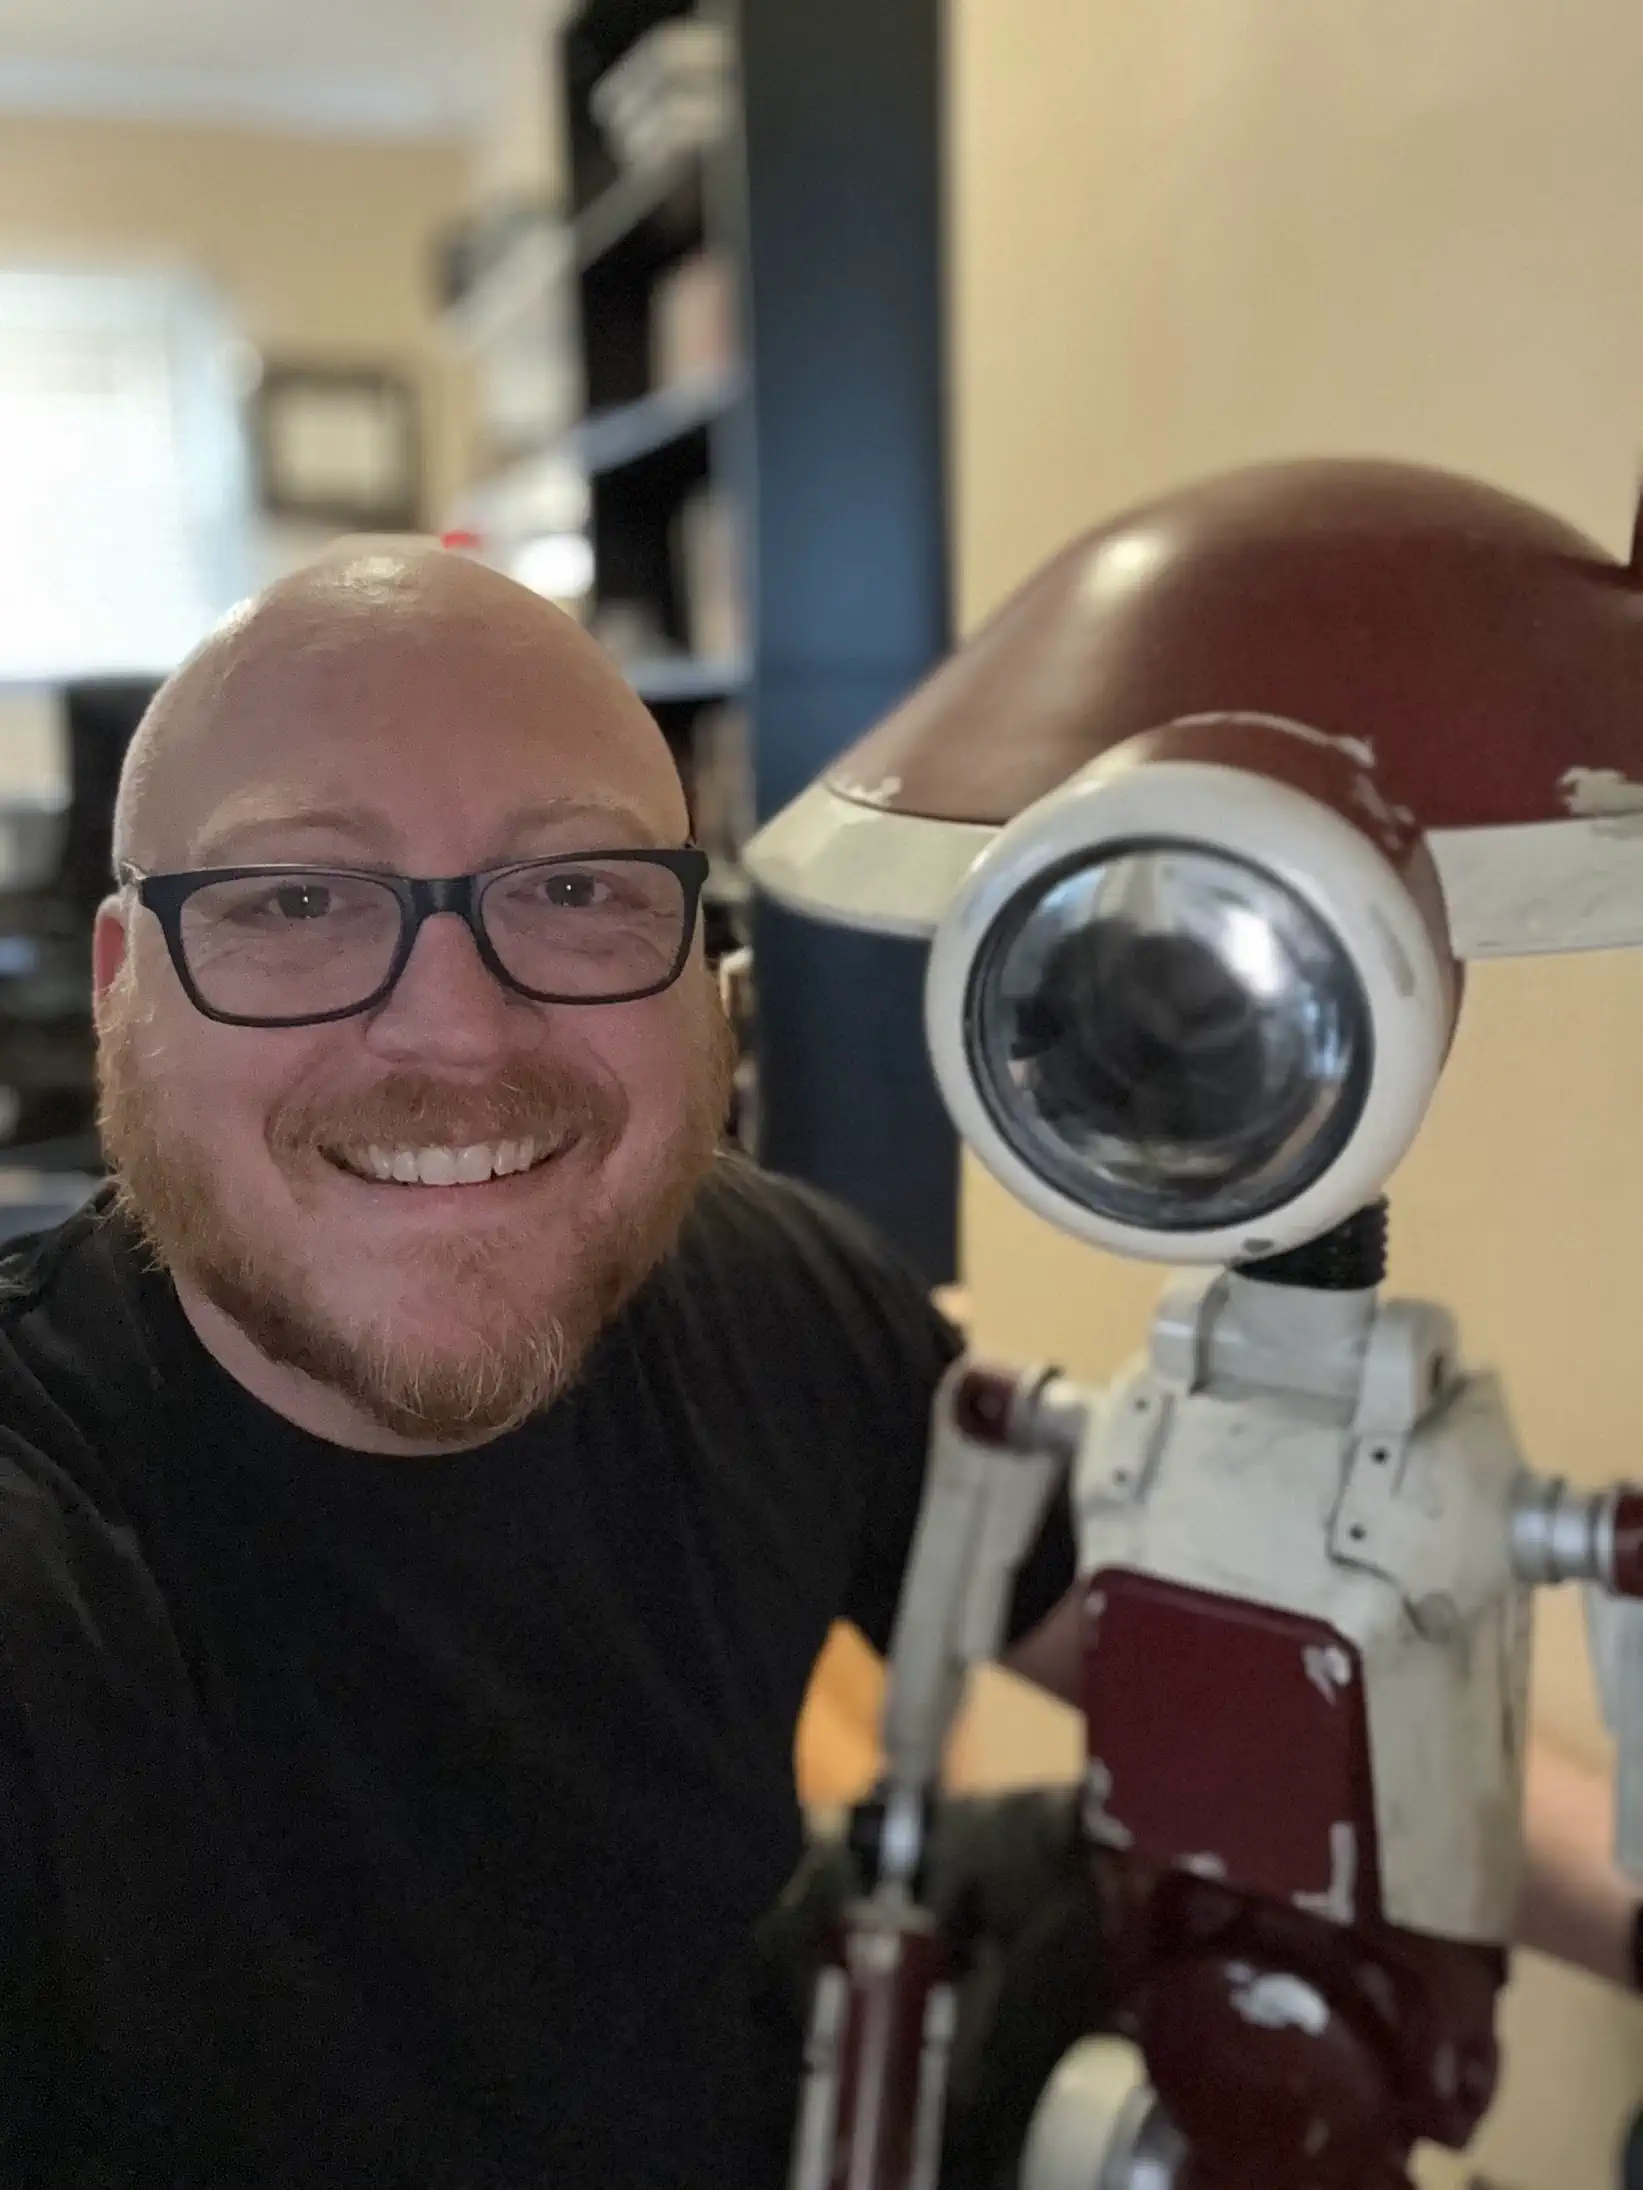
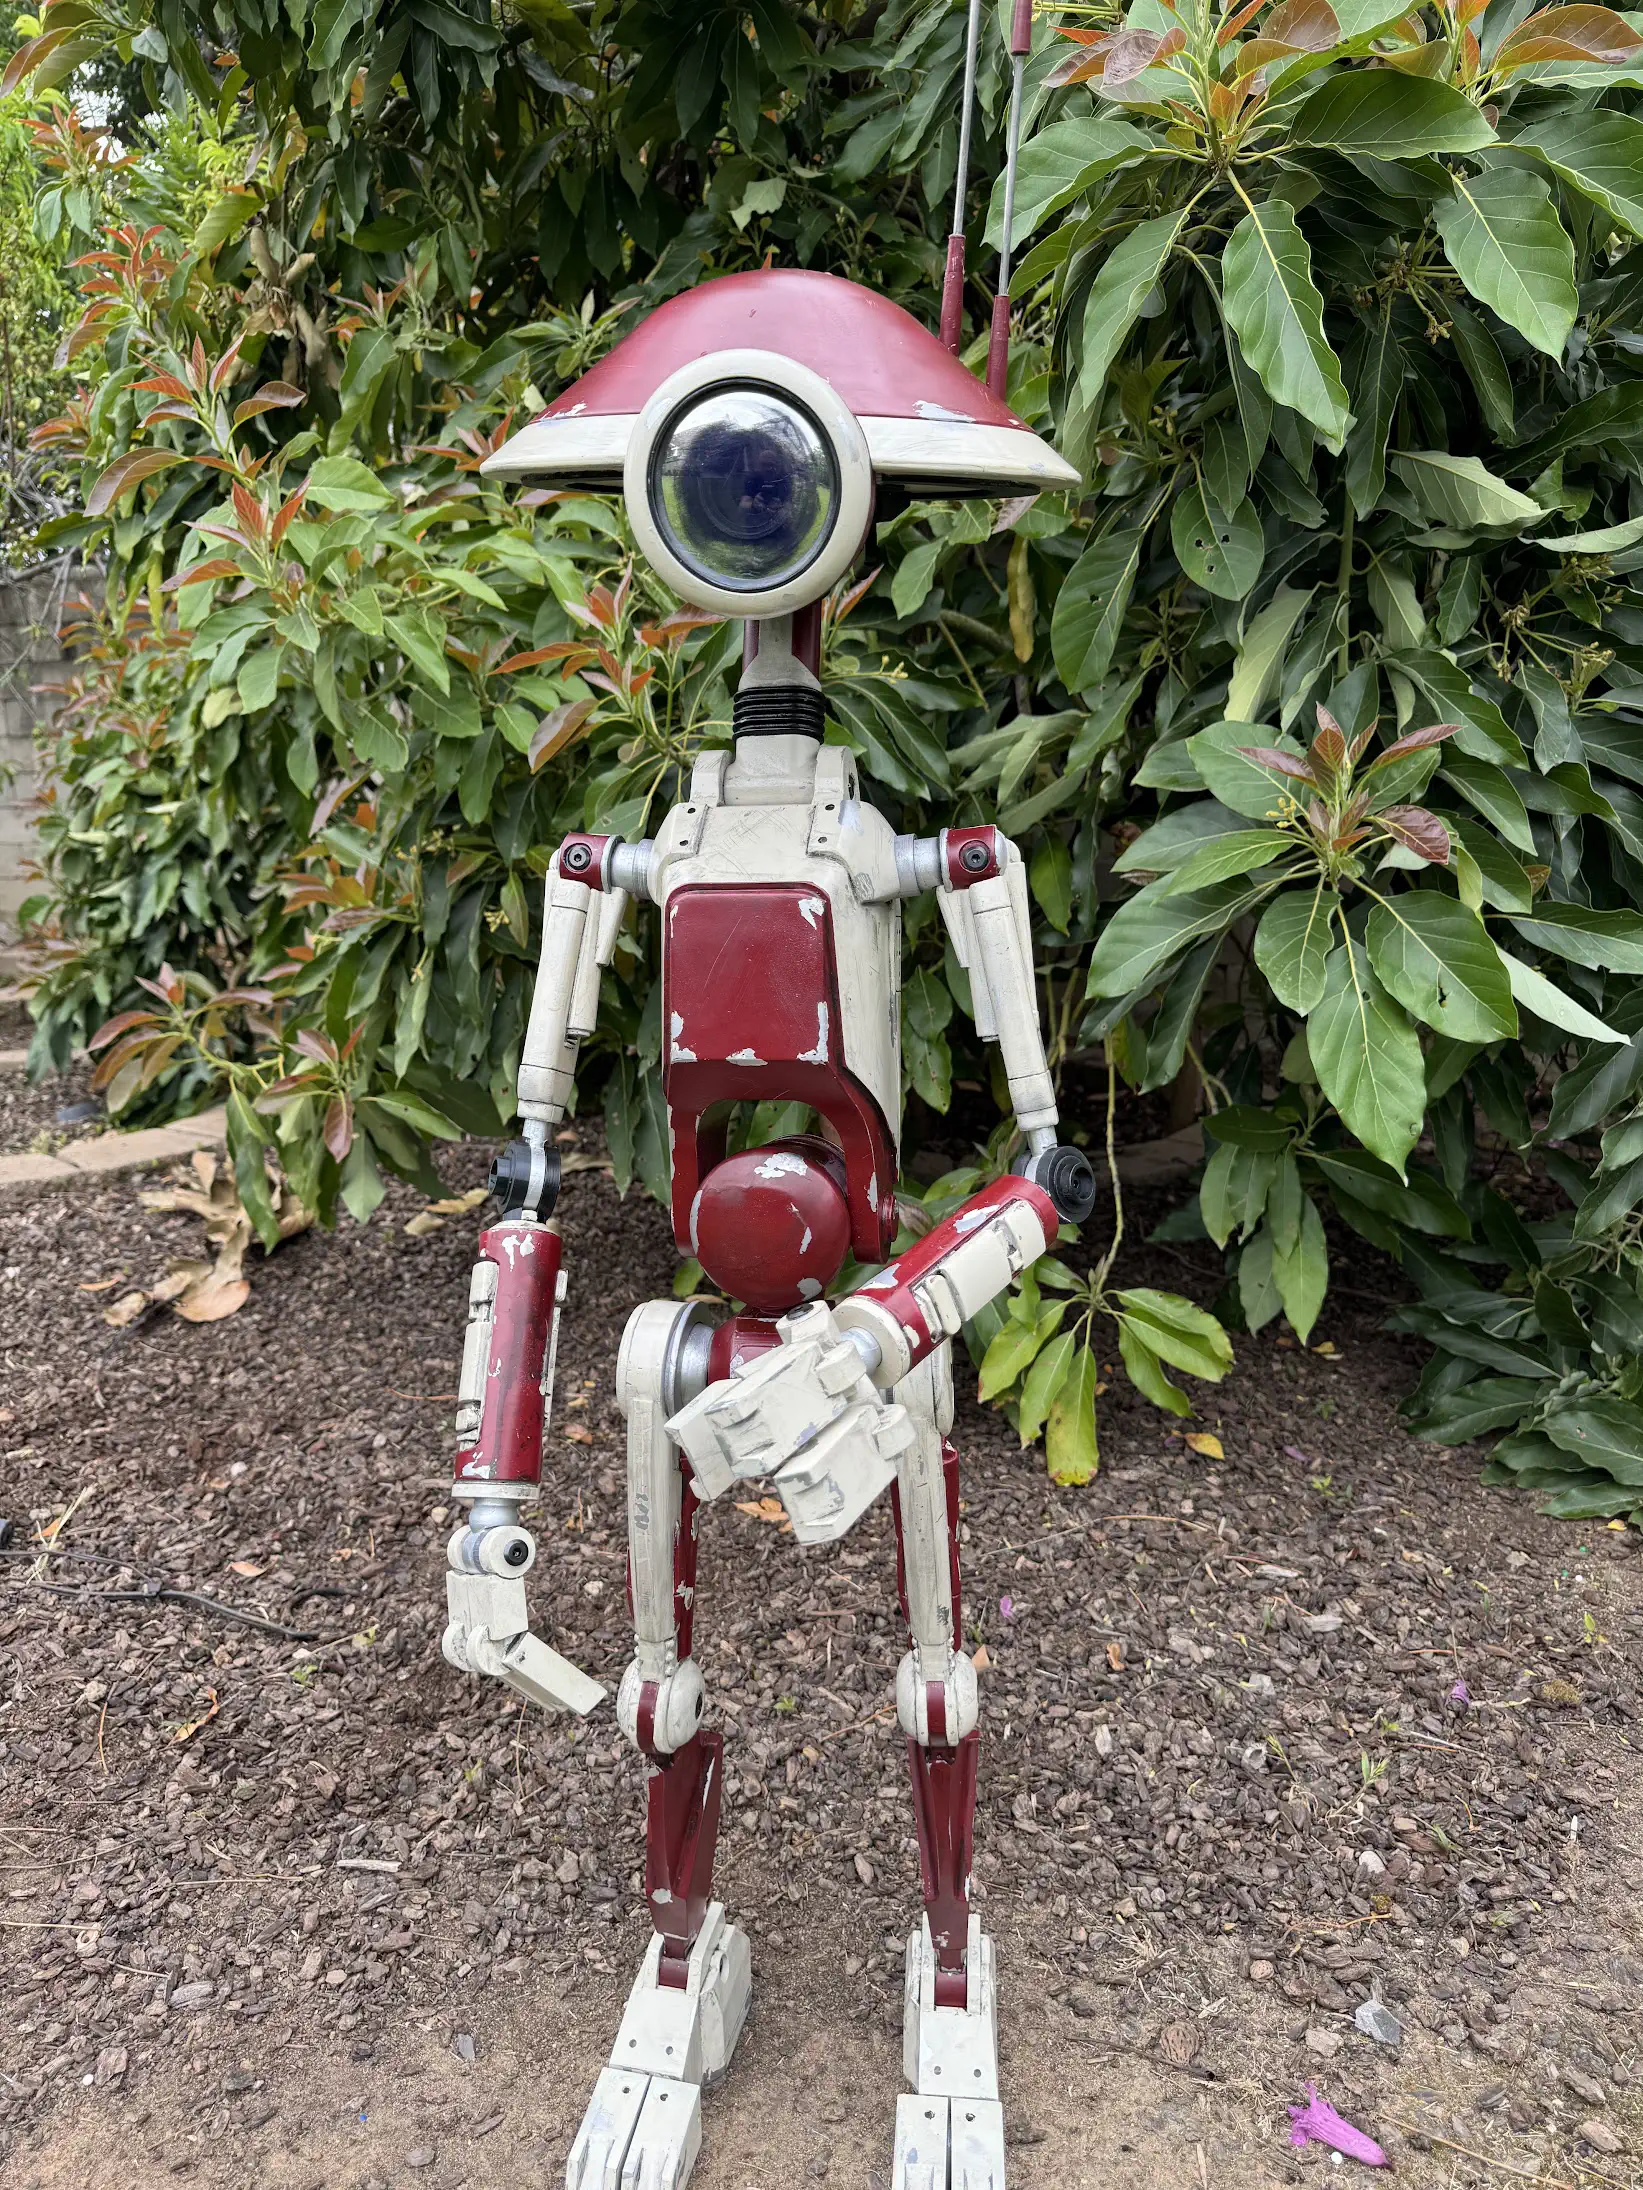
Final Thoughts
I’m super happy with how this build came out
Photos

Electronics Used
Paints Used
Weathering Notes
Dry brushing with silver acrylic for edge wear